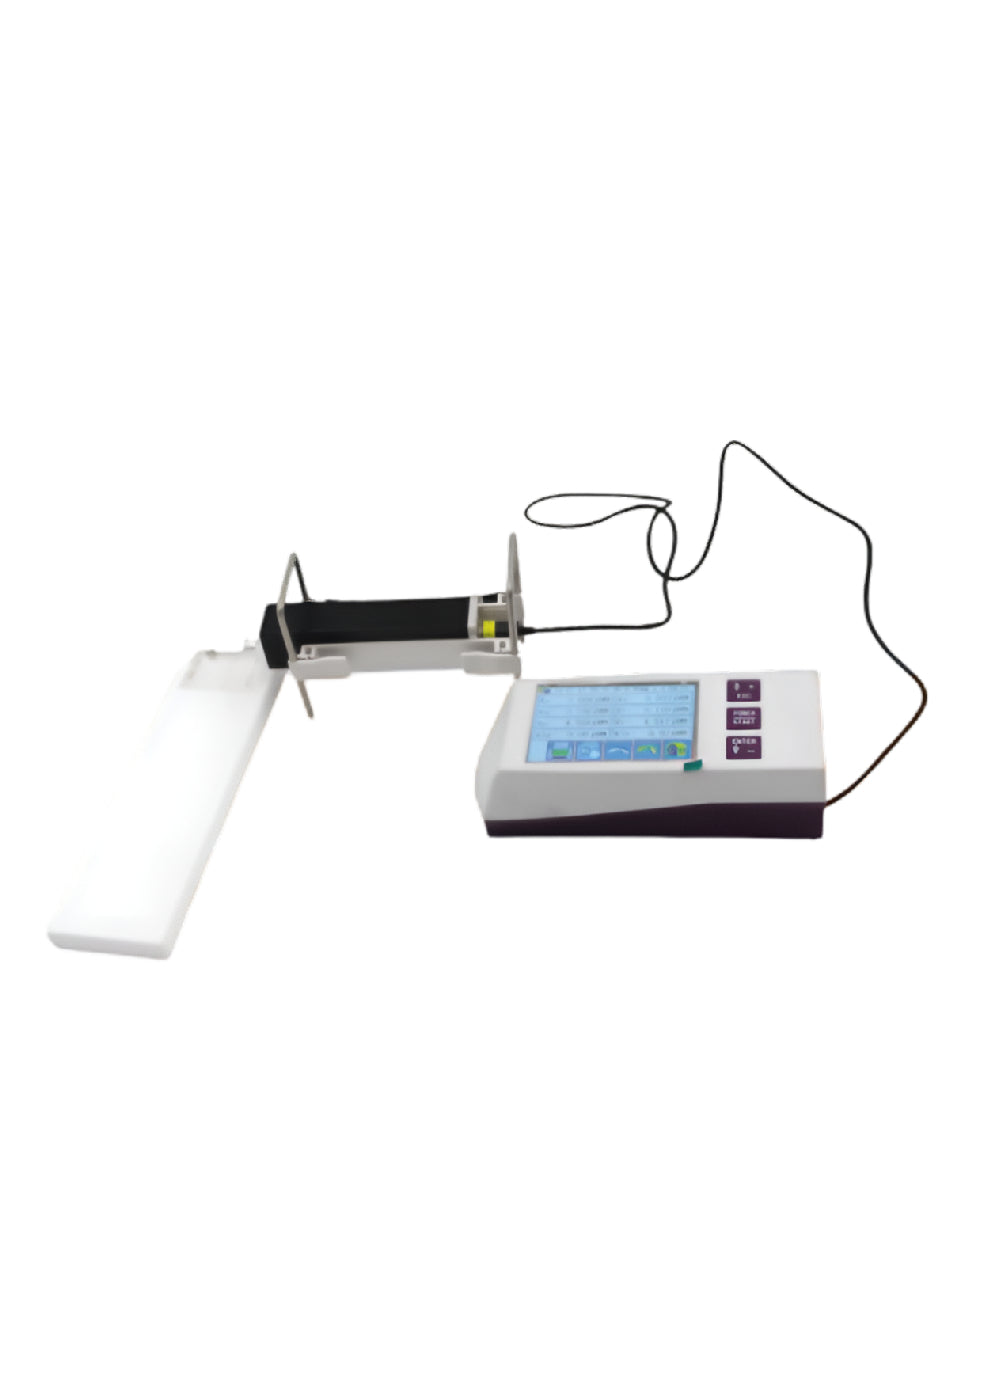
| Technical Specification | ||
|---|---|---|
| Measurement Range | The Z axis (vertical) | ±80µm/±160 µm (enhanced model) |
| The X axis (Transverse) | 17.5mm | |
| Resolution | The Z axis (vertical) | |
| 0.01µm/±20µm | ||
| 0.02µm/±40µm | ||
| 0.04µm/±80µm | ||
| 0.08µm/±160µm | ||
| Measurement Item | Parameter | Ra, Rz, Rq, Rt, Rp, Rv, R3z, R3y, Rz(JIS), Rs, Rsk, Rsm, Rku, Rmr, Ry(JIS), Rmax, RPc, Rk, Rpk, Rvk, Mr1, Mr2 |
| Standard | ISO, ANSI, DIN, JIS | |
| Graphic | Bearing area curve, Roughness profile, Primary profile | |
| Filter | RC, PC-RC, Gauss, D-P | |
| The sampling length (lr) | 0.25, 0.8, 2.5mm | |
| Assessment length (ln) | Ln= lr×n n=1~5 | |
| Sensor Specification | ||
|---|---|---|
| Sensor | Measuring method | Skidded |
| Stylus tip | Diamond, 90 cone angle, 5µmR | |
| Force | <4mN | |
| Skid part | Hard alloy, skid radius of curvature: 40mm | |
| Traversing speed |
Ir=0.25, Vt=0.135mm/s Ir=0.8, Vt=0.5mm/s Ir=2.5, Vt=1mm/s Return Vt=1mm/s |
|
| Accuracy | Less than ±10% | |
| Repeatability | Less than 6% | |
| Power supply | Built-in Lithium ion battery, Charger: DC5V, 3200mA | |
| Outline dimension | Main unit: 52*55*158mm Drive: 23*27*115mm | |
| Weight (main unit) | Around 400g | |
| Working Environment | Temperature: -20°C ~ 40°C Humidity: < 90% RH |
|
| Store and Transportation | Temperature: -40°C ~ 60°C Humidity: < 90% RH |
|


