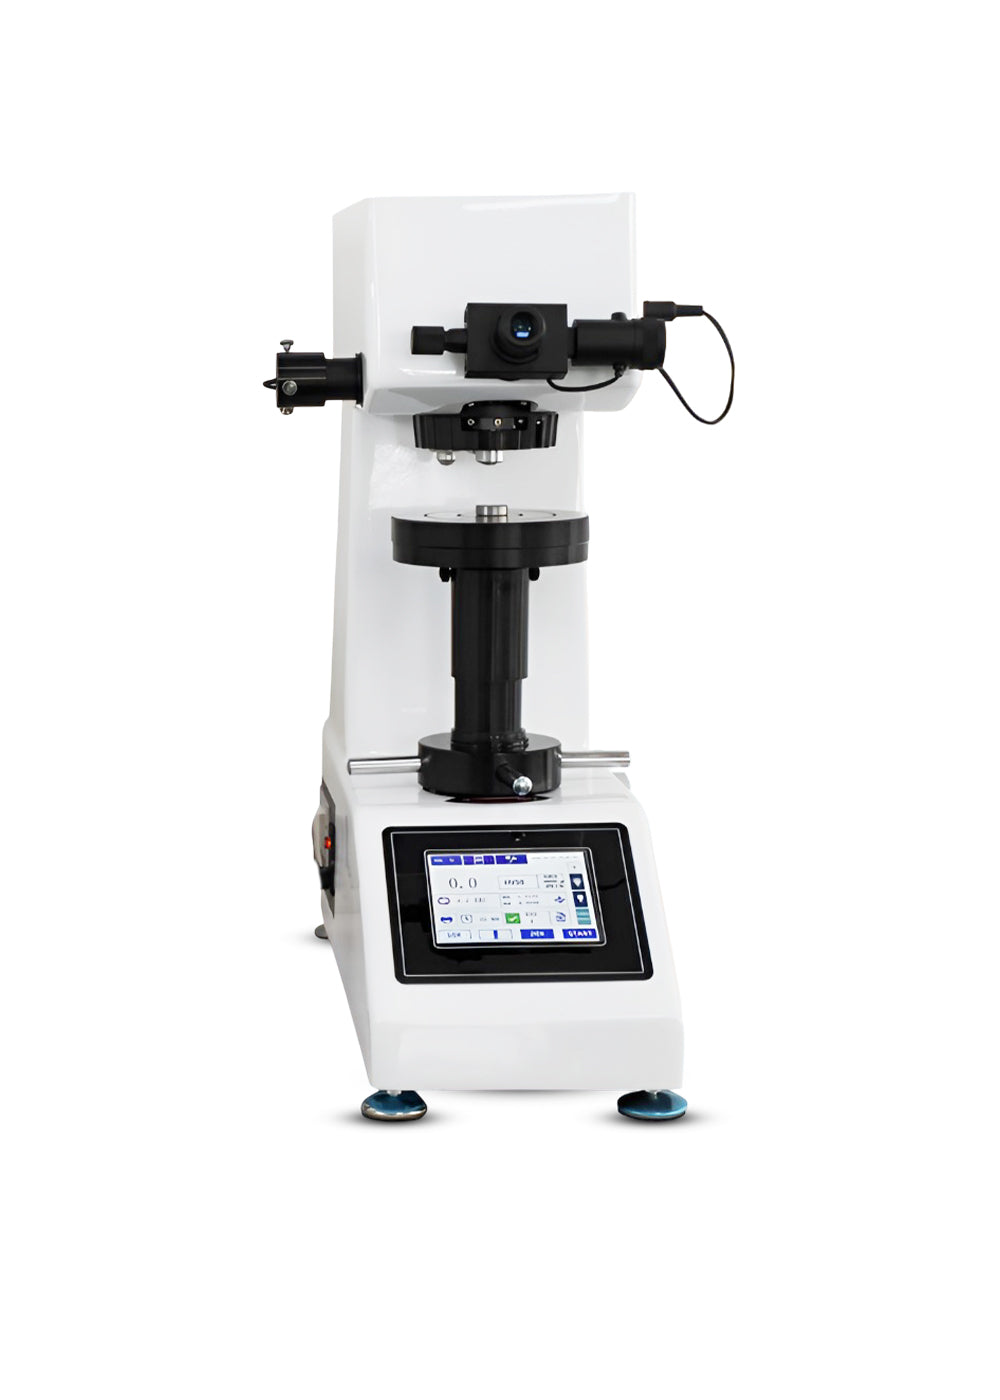
| Model No. | AMT-VM-50 |
|---|---|
| Turret | Automatic |
| Test Force | 1kg(9.8N), 5kg(49N), 10kg(98N), 20kg(196N), 30kg(294N), 50kg(490N) |
| Hardness Scale | HV1, HV5, HV10, HV20, HV30, HV50 |
| Hardness Conversion Scale | HRA, HRB, HRC, HRD, HK, HBS, H15N, H30N, H45N, H15T, H30T, H45T |
| Loading Speed | ≤50μm/sec |
| Min. Measuring Unit | 0.125μm, 0.0625μm |
| Indenter | Standard Rectangular pyramid diamond indenter (136°±0.5°) |
| Hardness Value Range | 5–3000HV, 8–4500HK |
| Data Display | Color Touch screen |
| Total Magnification | 100X (For Observation), 200X (For Measurement) |
| Loading Method | Automatically (Load, dwell and unload) |
| Dwell Time | 1–99s (each step is 1 second) |
| Maximum Height | 180mm (If work with XY table: 160mm) |
| Throat Depth | 135mm |
| Light Source | LED Cold light source |
| Power Supply | 220V ± 5%, 50/60 Hz (110V is available) |
| X-Y Testing Table (Optional Purchase) |
Dim.: 100×100 mm, Max. Travel Range: 25×25mm, Moving Resolution Ratio: 0.01mm |
| Instrument Size and Net Weight | 600×220×700mm; 55kg |
| Executed Standard | GB/T4340, ASTM E384 & E92, EN-ISO 6507-2, JIS B-7734 |
| Standard Accessories |
1 piece: 10X electronic eyepiece; 10X and 20X objective lens; Vickers indenter; Level bubble; Large / Medium / V-shape Testing Table; Power line; Dust proof cover; Manual Book; Hardness Conversion Tables; Quality certificate; Warranty Card; Accessory case 2 pieces: Standard block of hardness 4 pieces: Horizontal adjusting screw |
| Optional Purchase Accessories | Image analysis software; Metallographic equipment; Knoop Indenter; Hardness block; 15X micrometer eyepiece |


